How to setup User Emails for SaaS Startups
Understand how to set up a complete flow for user communication without writing any code.
Are you building a SaaS startup? If yes, this article will help you in building a flow for user emails.
SaaS products, your users are going to be in a long-term relationship with you and not just a fling! To build a relationship, you need to communicate. You need to understand their needs as well as you need to clearly communicate what is in there for them.
And, yes, this long-term relationship would mean recurring revenue or subscription money for your startup.
I am Microbots and I will tell you how to set up an effective series of communication with your users! For SaaS customers, emails are the best channel to reach out. So, this article will be focussed more on emails.
Type of Emails:
- Transactional Emails
- Onboarding Emails
- Drip/Marketing Emails
- Feedback Emails
Transactional Emails
Transactional emails are the key emails that are sent to a user on a specific event like:
- Personalized Discount Emails
- Payment Emails
- Free Trial Expiry Emails
… and many more.
These emails should be done on pure transactions and should not be associated with your marketing, onboarding, or feedback emails.
As these are the key emails that are supposed to reach users, you probably should not have an unsubscribe link on these emails.
Let’s see how you can set up Free Trial Expiry Emails with Microbots instead of investing the time and energy in writing Cron jobs for the same. Also, not only do you send emails but you also get a cool analytics dashboard for your transactional emails if you send them via Microbots!
Step 1: Connect Your Database
The first step is to connect your database with your Microbots account. Choose the required Database template like Mongo, MySQL, Postgre SQL, or many more.
Once you select the template, you need to fill in the required information for Microbots to connect with your database
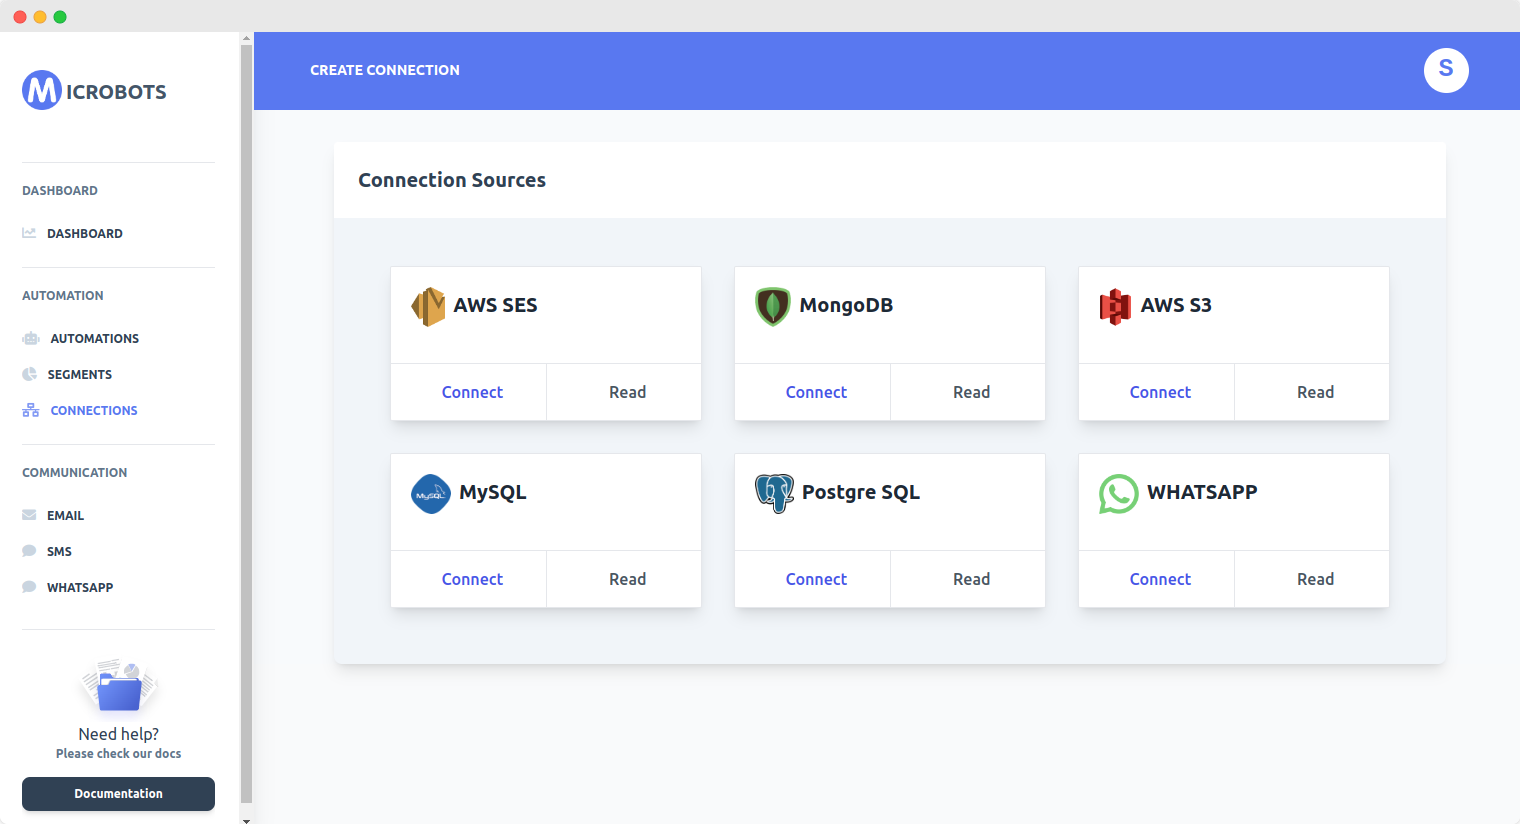
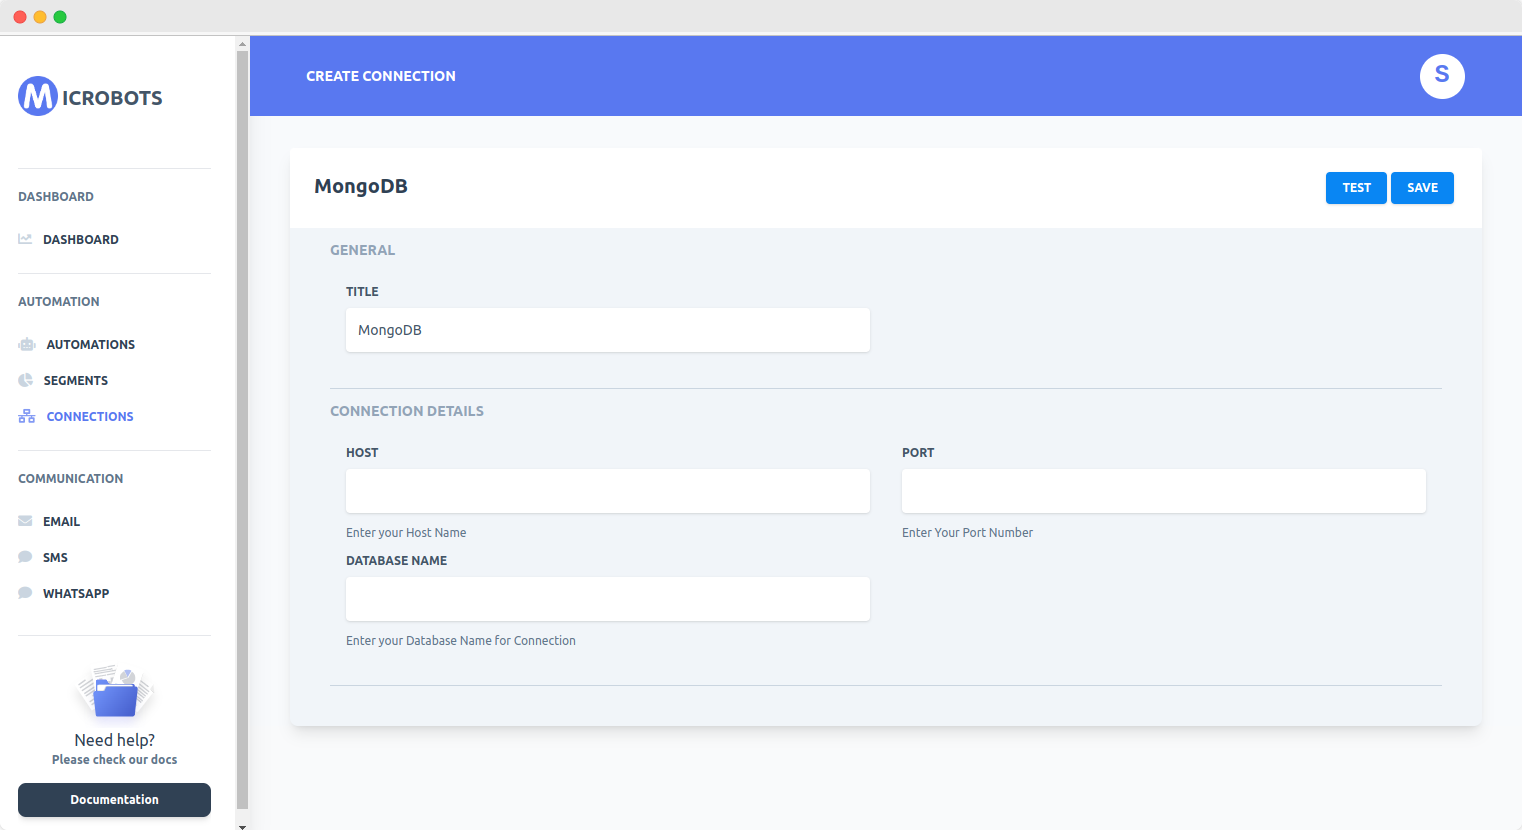
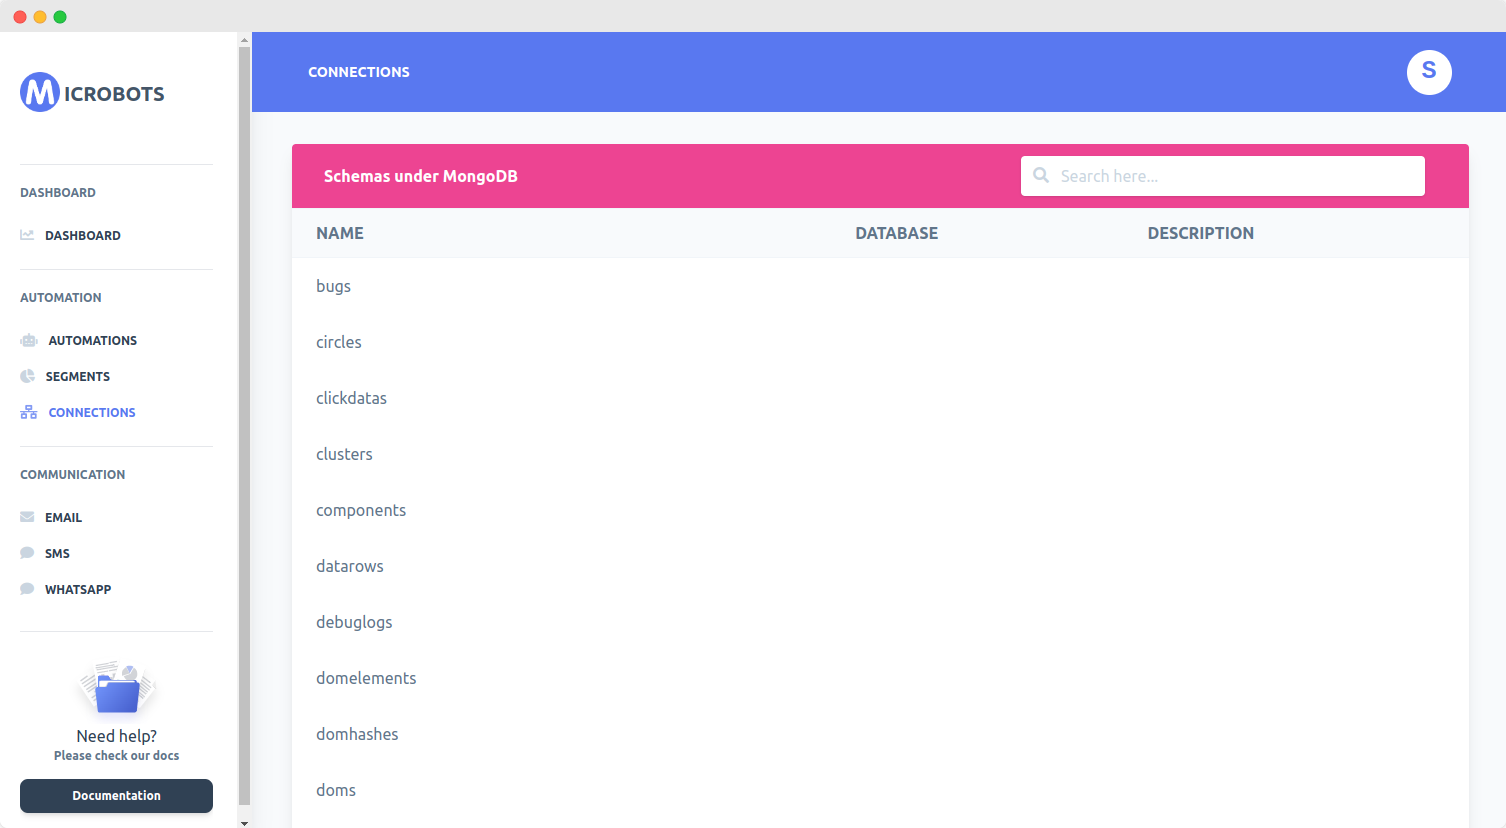
As soon as, you connect your DB, Microbots will parse all the tables and their fields.
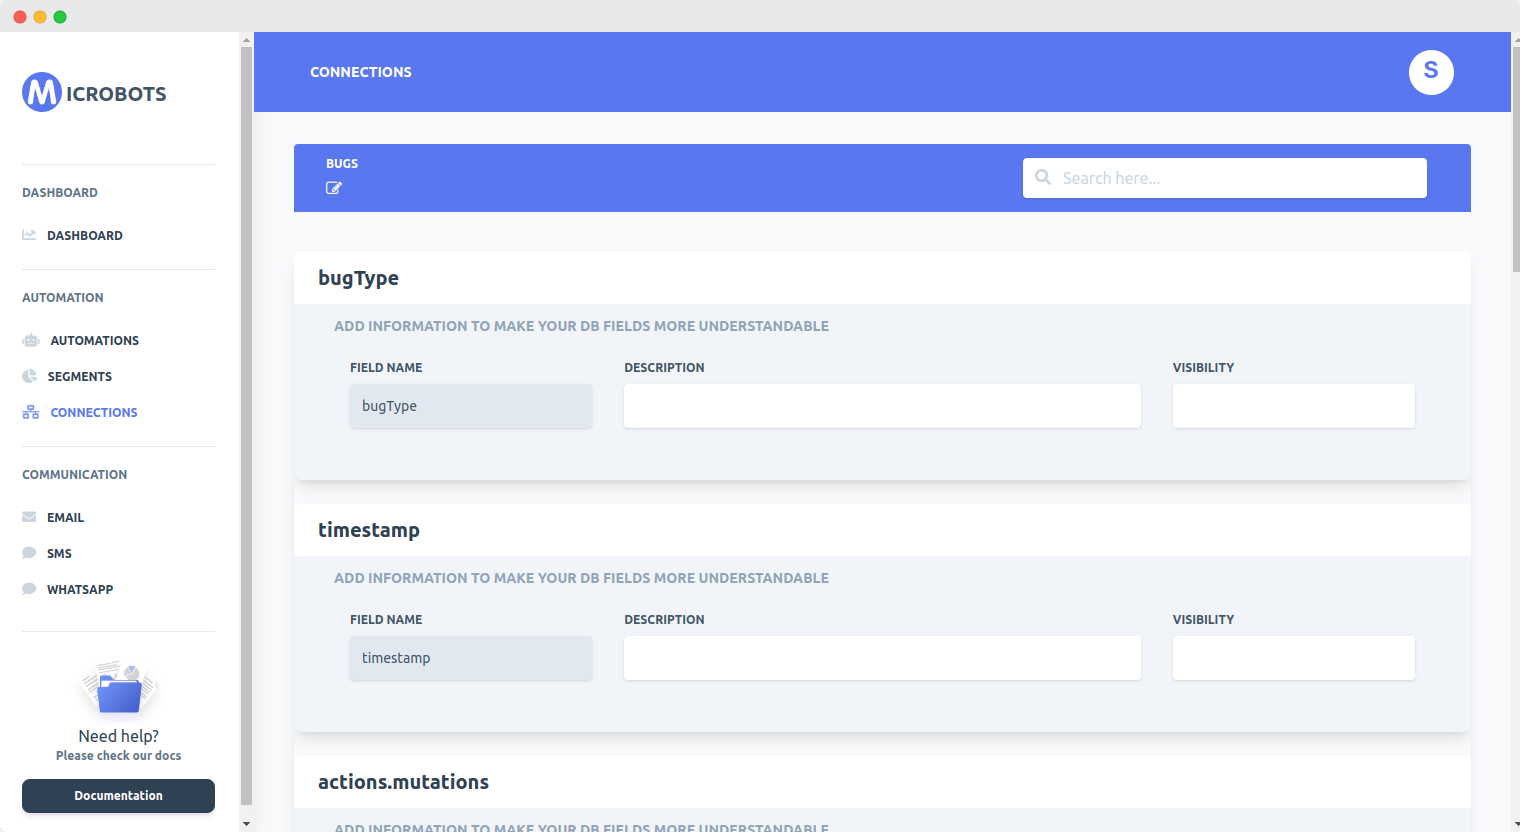
You can also add descriptions to the fields in the tables so that everyone on your team can understand the field types.
Step 2: Connect Your Email Service Provider
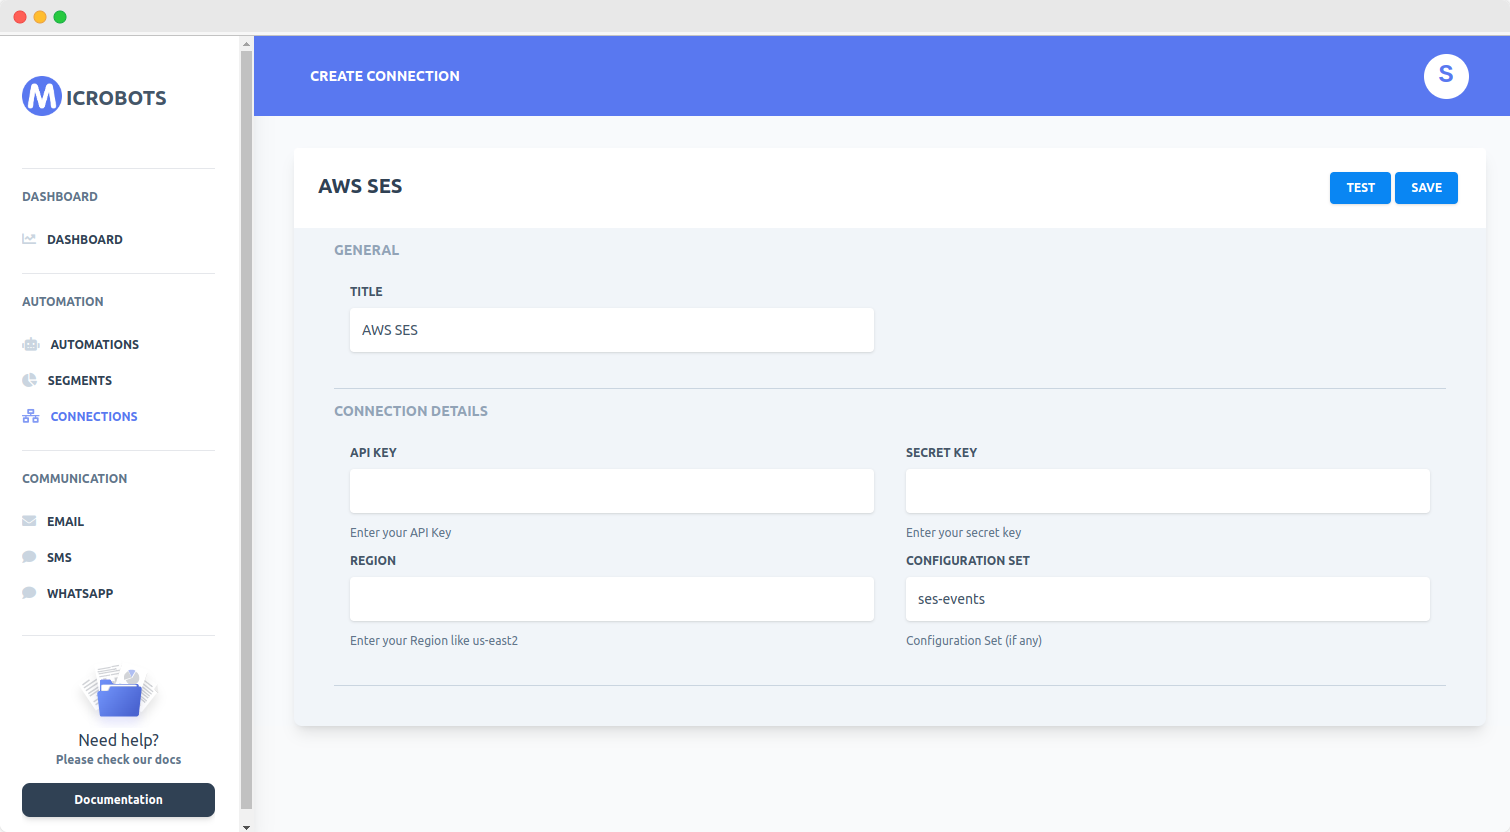
Once you have connected the database, you also need to connect with an Email Service Provider like Amazon SES, Sendgrid, Netcore, or Mandrill (now part of Mailchimp). You can just choose the template and fill in a couple of details to connect with your ESP
Step 3: Create a Segment
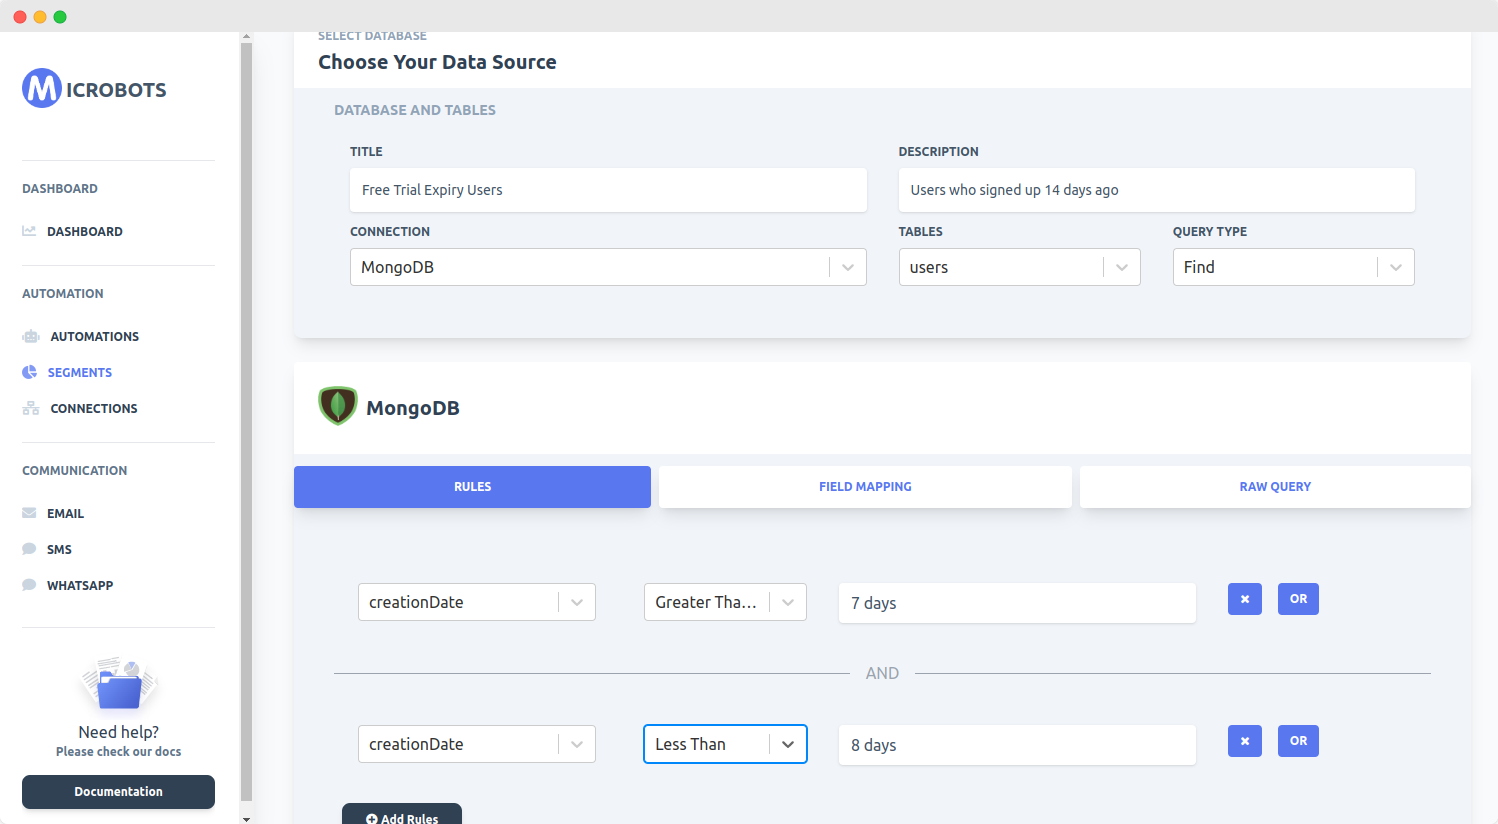
Once you have established the desired connections, you now need to create a segment of users whose free trial is about to be expired. Let's say your product offers a week's free trial. So, you can choose the range for user creation in the last week. Also, you can add as many rules as you want to refine this segment.
Step 4: Select or Insert Email Template
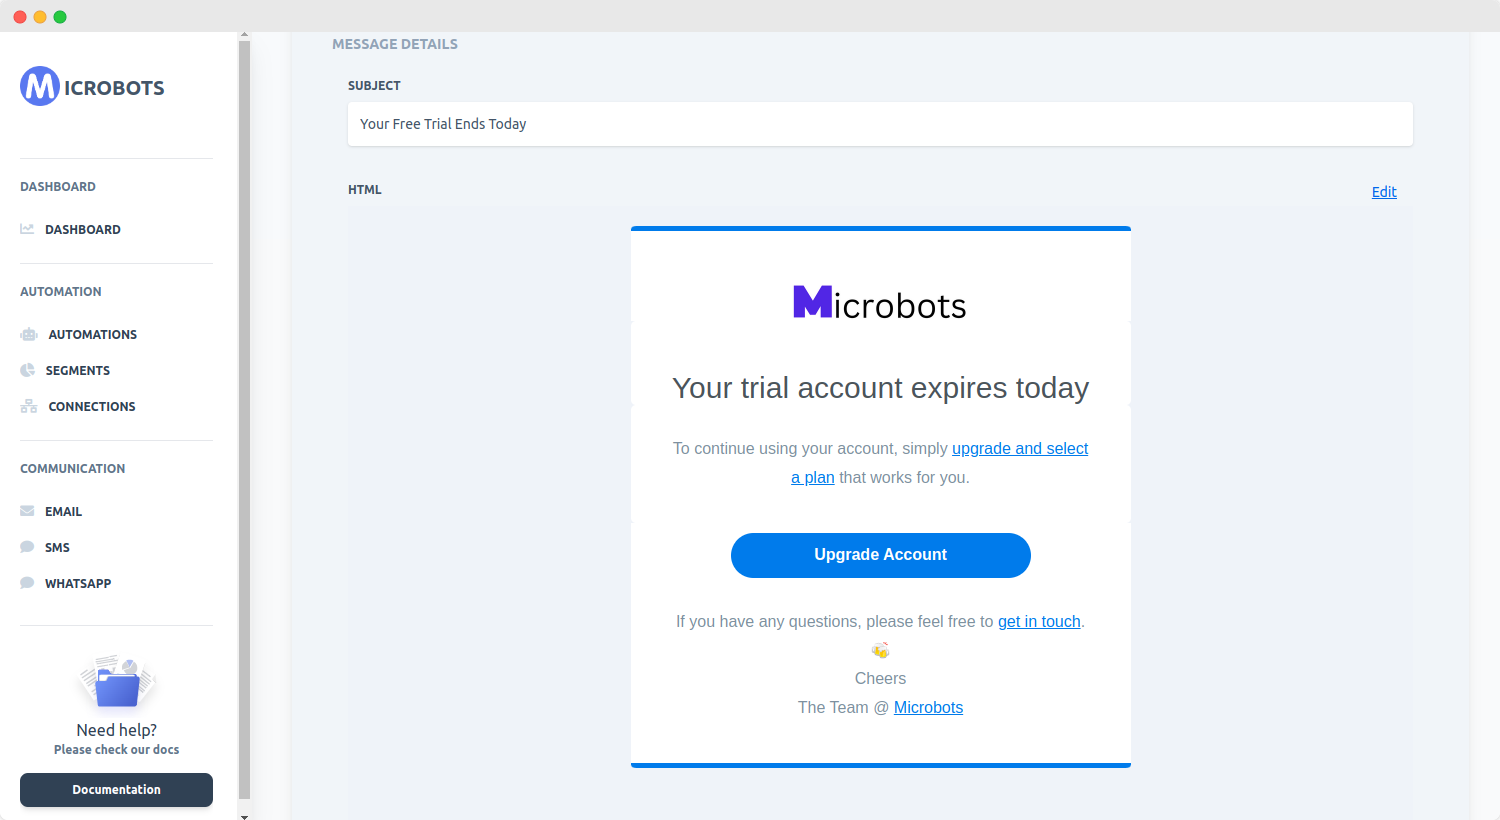
You can choose and modify an Email from Microbots' existing templates or you can add your own.
Step 5: Choose a Run Schedule
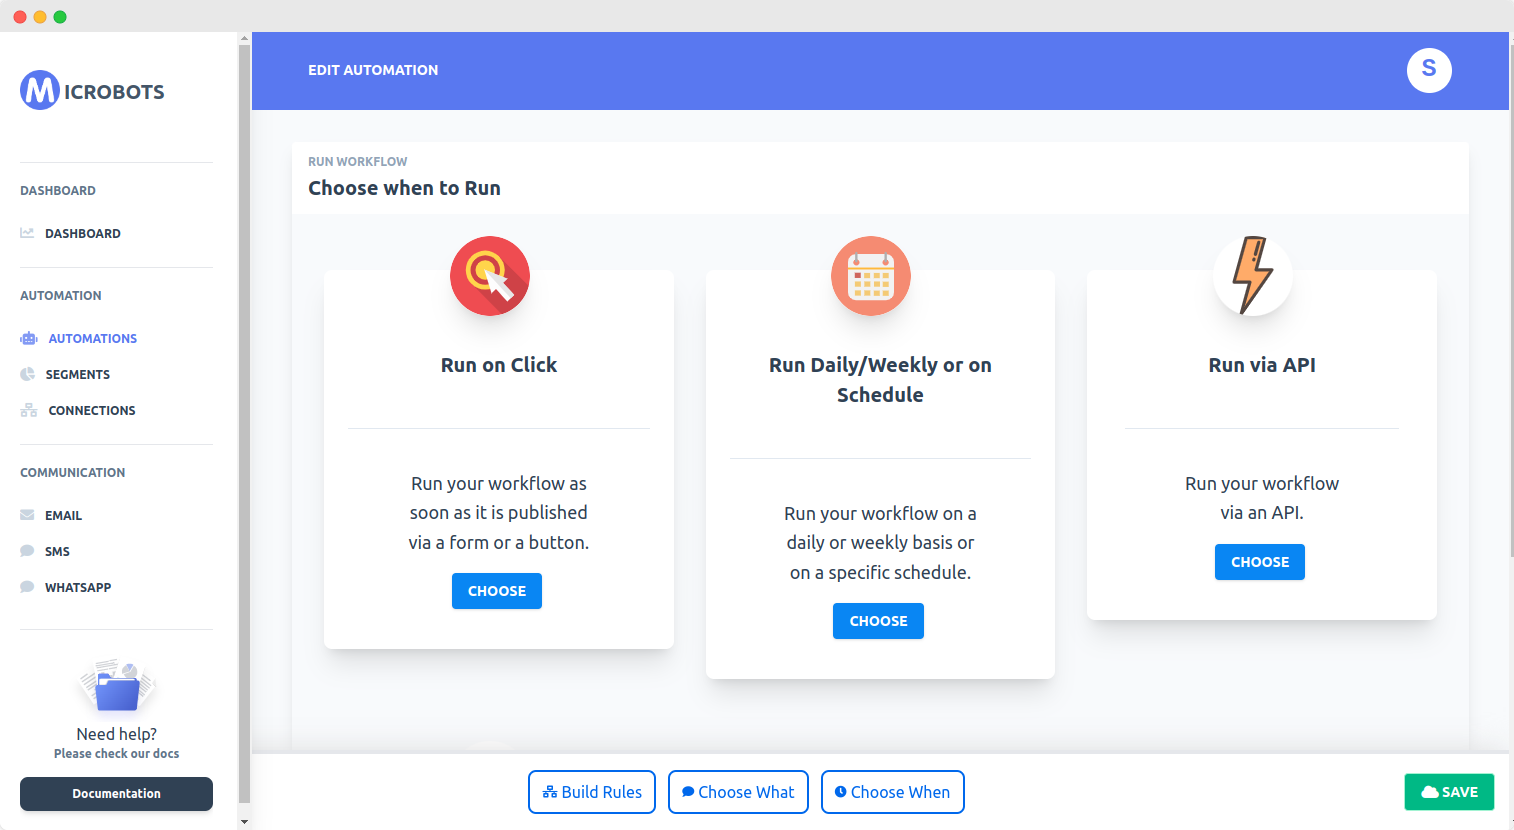
The last step is to assign a frequency at which you need to run these emails. Since our example free trial is for a week, we chose the segment of users who signed up on the date i.e. greater than or equal to the last 7 days and less than the last 8 days. We can run this automation once a day and this will send free trial expiry email to our users whose trial is about to end.
This is just one small example of a transactional email that you need to set up as soon as you launch your payment flow. You need to send signup emails, reminders before the free trial ends, payment reminders, plan expiry, discount codes, etc.
Hope this is helpful! Follow our medium channel to read about how to create a complete flow for your onboarding, marketing, and feedback emails without writing any code.